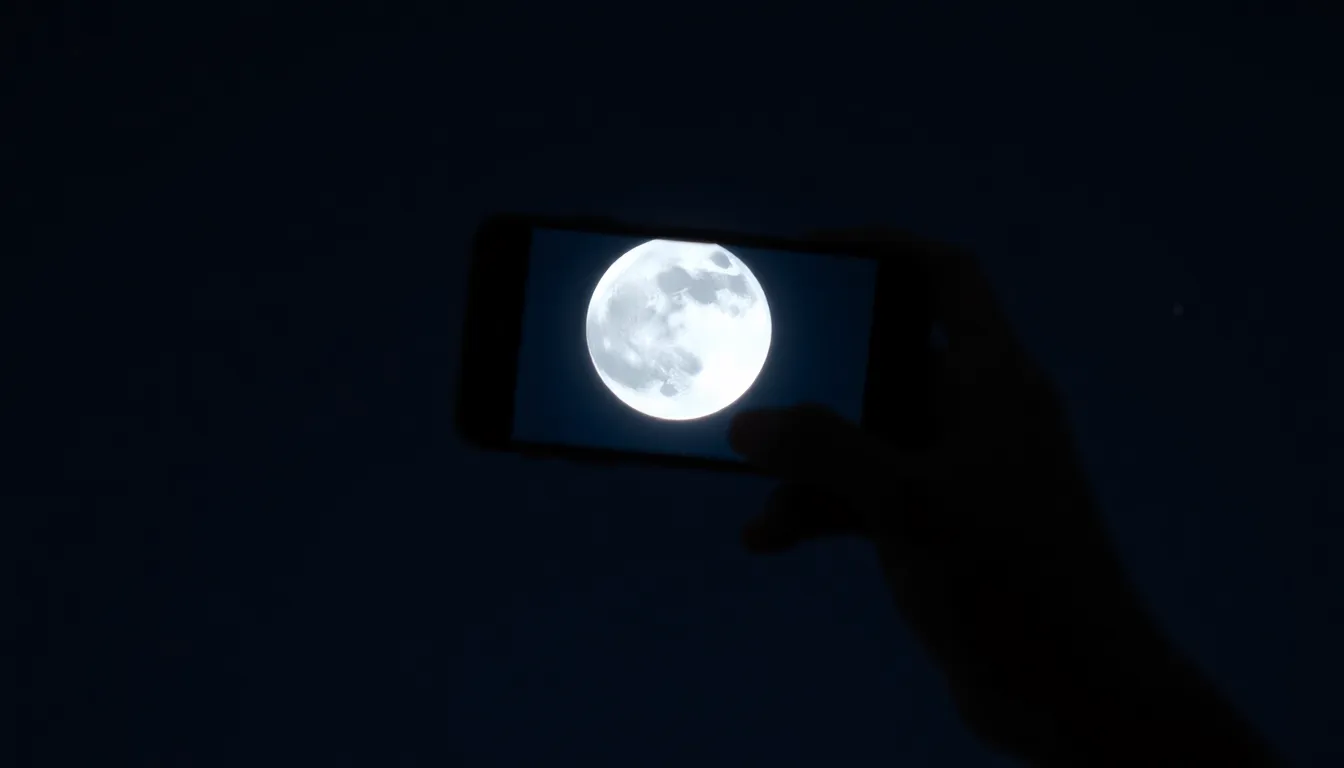
Capturing the moon with an iPhone might sound like a cosmic challenge, but it’s easier than finding a parking spot at a mall during the holidays. With just a few simple tweaks and a sprinkle of creativity, anyone can turn their smartphone into a mini telescope. Imagine impressing friends with stunning lunar shots that make them question if you’ve secretly become an astrophotographer.
Understanding Moon Photography
Capturing the moon’s beauty through an iPhone requires some essential considerations. Factors like equipment quality and camera settings significantly impact the final image.
Importance of Equipment
Quality equipment plays a crucial role in successful moon photography. An iPhone equipped with a telephoto lens enhances zoom capability, allowing for sharper details of the lunar surface. A stable tripod minimizes movement and prevents blurriness during long exposures. Additionally, using a remote shutter release or the camera’s timer function can further reduce shake when pressing the shutter button. Accessories such as lens filters can improve contrast and reduce glare from the moon’s brightness. Investing in these tools results in clearer, more vivid images of the moon.
Choosing the Right Settings
Selecting the proper camera settings is vital for obtaining exceptional moon photos. Adjusting the exposure time influences brightness; a shorter exposure avoids overexposure of the moon. Setting the ISO to a lower value, like 100-200, helps reduce noise in the image. Depending on the lunar phase, tweaking the focus may enhance clarity and detail. Applying manual focus allows for precise adjustments that automatic settings might miss. Utilizing HDR mode can capture a broader range of light, especially beneficial on bright moonlit nights. Opting for these tailored settings elevates the overall quality of the moon photographs captured with an iPhone.
Preparing Your iPhone for Moon Photography
To capture striking moon images, preparing your iPhone is essential. Adjusting settings and using specific features maximizes photo quality.
Using the Camera App
Opening the Camera app serves as the first step for moon photography. Selecting the “Photo” mode allows access to manual adjustments. That mode enables users to tap the screen and focus precisely on the moon. Adjusting the exposure slider brightens or darkens the image, ensuring lunar details remain visible. Utilizing the zoom feature enhances the moon’s appearance, but it’s important to avoid excessive digital zoom, which leads to grainy images. Experimenting with different angles and settings can lead to stunning results.
Enabling Night Mode
Activating Night Mode enhances shooting capabilities in low-light conditions. Night Mode automatically engages when lighting conditions diminish, providing bright and clear images of the moon. This feature uses longer exposure times to capture more light without sacrificing detail. The iPhone’s camera adjusts settings to compensate for darkness, and this optimizes clarity. Users notice improved contrast and color vibrancy in their lunar shots. Engaging Night Mode not only makes moon photography easier but also increases the chances of capturing breathtaking images.
Tips for Capturing the Moon
Capturing stunning images of the moon involves several key techniques and considerations.
Finding the Right Location
Selecting an optimal location is critical for moon photography. A clear view of the horizon enhances visibility, allowing for a better capture of the moon’s details. High ground or areas free from light pollution often yield superior results. Natural settings, such as parks or open fields, eliminate distractions from urban sources. Additionally, scouting locations during daylight provides insight into potential compositions for evening shots. Aim for spots that frame the moon with interesting foreground elements, adding depth to the images.
Using a Tripod for Stability
Stability is essential when photographing the moon, as small movements can blur images. Utilizing a sturdy tripod reduces camera shake and ensures clearer photos. It supports longer exposures, which are often necessary in low light conditions. Choose a tripod with adjustable height and angle for flexibility in composition. Consider using a remote shutter release or timer, further minimizing vibrations. Even a stable surface can suffice if a tripod isn’t available. Prioritize stability for sharper, more detailed lunar shots.
Adjusting Zoom and Focus
Adjusting zoom and focus significantly influences the quality of moon images. Telephoto lenses provide zoom capability, capturing intricate lunar features. Relying solely on digital zoom results in grainy images, so avoid that whenever possible. Manual focus allows precise control over sharpness. Tap on the moon in the camera app to focus directly on it, ensuring clarity. Experiment with various zoom levels to find the optimal setting for your shot. Prioritizing these adjustments greatly enhances the overall quality of the photograph.
Editing Your Moon Photos
Editing enhances your moon photos, allowing you to achieve a professional look and highlight stunning details. Several tools offer effective solutions for this purpose.
Recommended Editing Apps
Snapseed stands out as a versatile tool with features like selective adjustments and filters. Lightroom Mobile also provides extensive editing capabilities including exposure and color corrections. For quick adjustments, VSCO offers a user-friendly interface with appealing presets. Another option, Afterlight, includes various editing tools and textures that can elevate moon photography. Each app has unique strengths, making it easy to find one that fits personal editing styles.
Basic Editing Techniques
Start editing by adjusting brightness and contrast to reveal moon details. Increasing saturation can bring out lunar colors, enhancing visual appeal. Consider cropping to remove distractions and focus on the moon. Sharpening the image usually enhances clarity, especially for fine details. Applying a vignette effect can draw attention toward the moon, creating a more dramatic effect. Always save a copy of the original image before applying edits to maintain flexibility.
Capturing the moon with an iPhone can be a rewarding experience that showcases creativity and technical skill. By following the right techniques and utilizing helpful accessories, anyone can achieve stunning results. The combination of proper settings, a stable setup, and thoughtful composition can transform ordinary shots into extraordinary lunar photographs.
With a little practice and experimentation, photographers can find their unique style and capture the moon’s beauty in ways that impress. Whether sharing images on social media or simply enjoying them for personal satisfaction, the thrill of photographing the moon is within reach for everyone. So grab that iPhone and start exploring the night sky.